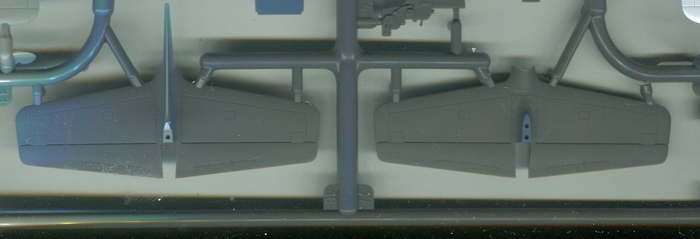
The two alternate styles of tail included (with and without fin fillets)
3 Sqn RAAF used two distinct batches of P-51Cs, the C-1 and C-10 sub-variants
The P-51C-1 variant consisted of a number of airframes with FBxxx serials plus one other odd one HB955. This variant did not have the tail fillet, nor did they have the additional fuel tank fitted below the radio gear (for which there is a separate part in the kit (no B12). To build one of these leave out the fuel tank and fill the access point for the tank on the upper rear fuselage as detailed in step 21 in the instructions. They also have the small hot air intake flap just behind the last exhaust stack (for which part PE7 on the etched fret is supplied). This is covered in step 24 in the instructions but they erronously do not tell you to add it to your model for CV-V FB244 for which they supply decals.
3 Sqn RAAF also had quite a few airframes built as the P-51C-10 variant, these had serials in the KHxxx range. To build one of these use the variant of the tail with the fin fillet, include the additional fuselage fuel tank (part B12) and do not remove the fuel access point on the rear upper fuselage.
I did an extensive article on the 3 Sqn P-51Cs (Mustang IIIs) in issue 18-2 of the IPMS (NSW) publication 'in Miniature'. Available in PDF format at our website at www.ipms(nsw).com/magazine. While the original CD distributed copies were in full colour, the PDF download is in B/W only so read the colour notes carefully. It covers many of the airframes used by 3 Sqn RAAF.
I will now look at individual areas of the kit and which options are best used for a 3 Sqn RAAF model.
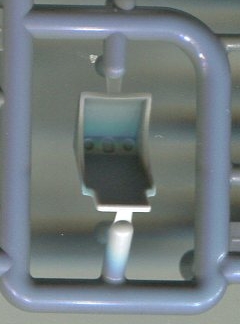
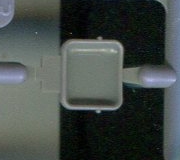
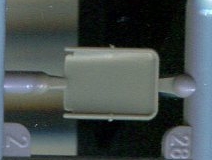
Seat options - the kit gives you the choice of two styles of seat. Schick-Johnson (classic 'bucket' style) as per the left, or the Warren McCathur made up of a separate seat pan plus straight back as per the 2 to the right. Mustang IIIs in Italy used the Warren McCathur seat so use this style for a 3 Sqn RAAF model.
Wheel & Tyres - There is only one style of wheel in the kit which has a 'Diamond' thread tyre. Photos show RAF Mustangs in Italy used 'Rectangular block' or 'Cross block' designs, so if you are fussy about things you will need replacement resin tyres.
Exhausts - The kit has both faired and unfaired style exhausts. All photos of 3 Sqn RAAF airframes show the unfaired style so these are the ones to use on your model.
Instructions - These are in full colour and show each part in the actual colour they should painted (rather than just using colour keys pointed to different areas). They can be downloaded from the ARMA website at 'http://armahobbynews.pl/en/blog/2021/11/30/70038-p-51-b-c-mustang-expert-set-assembly-instruction/' to peruse them, I have not included the download directly here in order to save space. One needs to read carefully and the options required for the option you choose chosen before beginning construction.
Clear Parts are well done and include optional parts for both open and closed canopies (to enable the open canopy to fit correctly). See the image below of that sprue.
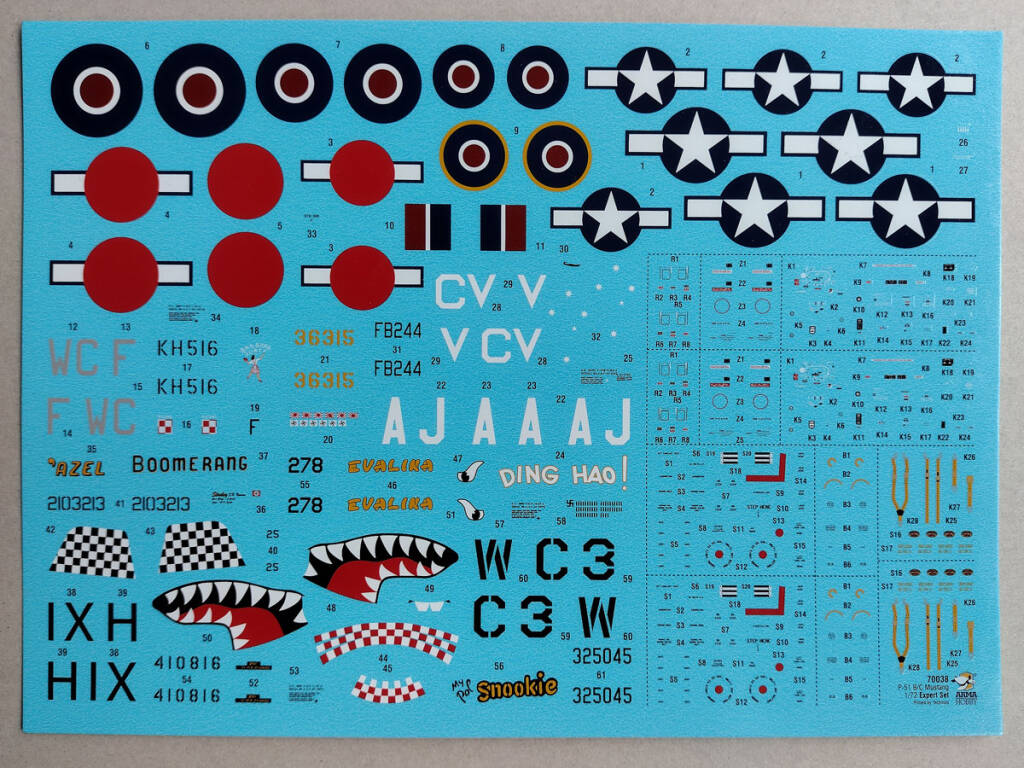
Decals - are printed by Techmod and include seven options. The last set of Techmod decals that I used behaved superbly, being thin opaque and beautifully printed so no problems here. They also include seat belts for use on non 'Expert' boxings that do not include the small brass set (which includes brass belts). See the image below of the sheet.
Canopy Masks Vinyl Masks are included (see image on previous page). ARMA usually use Kabuki tape masks but due to a supply issue had to use the less popular vinyl type with this boxing. Kabuki tape masks will return with later boxings once the supply issue is resolved.
Other Points
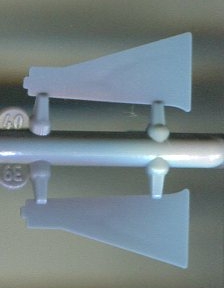

One online review was very scathing of the kit for sink marks in the mouldings. I can only assume that he received an early boxing and that Arma has adjusted the mould pressure slightly to mostly eliminate the problem. I had to look closely at the sprues to to find any. There is a very minor one on the outside of each main gear door (shown) and another minor one under the cockpit sill on the Starb side (neither of these will be a problem to eliminate). Also there was online talk about the thickness of the 'rubbing strip' on the inside of each auxilary wheel door. These are shown to the right and look fine to me (if they were made any finer they probably would not mould correctly).
Conclusion
This is by far the best kit of a P-51B/C 'Razorback' that has ever been released in 1/72 scale. Highly recommended to build a model for any colour scheme, not just one from 3 Sqn RAAF. ARMA has now advised taht the 2nd boxing specifically targeted towards RAF colour schemes will be released in Jan/Feb 2022. They have also announced that they are working on a P-51D/K kit for possible release by the end of 2022.
Steve Mackenzie. Jan 2022
Use the index button to return to the main issue 36/1 index.